Translate

Wednesday, April 1, 2015

March Winner For Tim Holtz Tags

Hooray, HooRay, HOORAY....YES....
A friend texted me today to tell me:
Mylissa....YOU are a WINNER!
You are part of the group that was
picked for the March tags!
I laughed out loud....it is such a 
FUN feeling!  

I have so much to learn in
this SCRAPPY world of ours....
and TIM HOLTZ 
makes learning about
art mediums sooo much FUN!
I really enjoy learning as I create 
these adorable tags....
I just had to share my joy....

If you haven't made a tag lately
You should hop on over to Tim's blog 
and give it a go....

(I still have to do January's Tag)  LOL

Monday, March 30, 2015

Tim Holtz March Tag 2015


Hello to all my scrappy friends....I
I thought Tim's March Tag was so pretty with all the
SPRING COLORS!
I felt very lucky when I found the butterfly stamp on ebay.
 I then went through all my "Tim" supplies to gather what 
I needed for this months tag.
I am not going to list all my supplies...just too
redundant, however, I will share what I did
different.  
1.  I used a heavier embossing powder, because 
that is what I had. 
2.  For the paint I substituted Shaded Lilac for Squeezed Lemonade
I substitued a wire pin for the loop pin. 
3.  My gears just looked 
really large on this size of tag so I added
K&Company stick on stud metal art.
4. I used a Teresa Collins Studio Gold Star.
5. I also used a different number (3 for the month of March)  and 
I changed the word band quote to go with the butterfly.
 6. For my ribbon I used antique linen distress ink and I 
just fell in love with the outcome...to me, it looked like a really soft gold,
which I think coordinated really well with the tag.

Here is my March Tag


I am so in AWE of Tim Holtz.
He is so gifted in his field.
But he also is a giver. He
doesn't mind sharing his talent and
knowledge with others.
I have so much to learn, and I am thankful
that Tim is a WONDERFUL TEACHER.

I was so excited to complete this tag.
It had some steps that I have never attempted
before, but I was thrilled to give it a try.
I am hoping to do this tag again just 
so I can improve my technique.
Thank you Tim for a FUN March TAG.

Friday, February 6, 2015

Tim Holtz February Tag 2015

As soon as I saw this tag...I knew I had to give it a go....
I didn't have many of the supplies needed to make it exactly like his,
so I decided to try it anyway.

Here's my February tag....


Supplies I had:  
Manila Tag, Mini Movers Heart die, base tray,
and word band,
Misc.:  Lace, felt, wire (came off a champagne bottle top)

I covered my tag with Authentique "Honor" Paper 
and distressed the edges .
I didn't have the ephemera pack or the cards so I made up
the "LOVE" word, calendar, and notes on the computer
and printed it off on heavy card stock and inked the edges
with antique linen and old paper distress ink.
The post card was copied from an early 1900's treasured 
collection of post cards.
The dictionary piece came from an old
Webster's Encyclopedic Dictionary.
 Frame: Making Memories Rectangle Gold Pearl Metal Frame.

I started placing my items on the tag to try and
get a feel for what I wanted to do, going along with
Tim's tag as a guide.
Because of the gold colors in the post card, that 
seemed to really stand out to me, so that is 
why I used the  antique gold frame, and arrow.
  I took some Inka-gold and added it to 
the word band, lock, and metal corner 
(Momenta) trying to add some gold to it.
I added two gold brads to the word band to hold it in place.
My heart seemed small for the frame so after I 
stitched it with gold thread, I stitched the lace around it too.
I punched a small heart out of glitter paper with a (Fiskars) hand punch.
 It fit perfectly in that little square on the calendar.
I added some (AC DIY Shop) gold twine to the (Paper Studio) arrow.
Then I added some rick rack to the left side of the dictionary card.
I stitched it on with red thread and added some walnut distress ink. I also used
Tim's Craft Pick (I didn't have the Scratcher) 
to loosen the threads on the ends of the rick rack.
 I added some red letters/numbers shadowed with gold cut from Tim's 
Alterations Typeset Sizzlits Decorative Strip Die. 
For the final touches I added a stamped image 
(Daisy Bucket Designs) onto the small "notes" card and some
ribbon with gold trim that came off of a gift.
I had so much fun making this tag.
Thank you Tim for the FABULOUS INSPIRATION!


Wednesday, January 28, 2015

Tim Holtz Does It Again!

CHA - 2015

Give a round of applause to Tim Holtz. He has a hit within the crafting industry with everyone waiting on "pins and needles" until a new color is revealed every month.  I know I will be on the
"LOOKOUT!  If you are as excited as I am about this new reveal, you still have a chance to "ENTER to WIN it!"  Visit Ranger's Blog:

http://rangerink.com/cracked-pistachio-giveaway/#more-21360


I am in"LOVE" with this new color and can't wait to acquire it!
And to think we have 11 more to go!
It's going to be a FUN year!

Tuesday, February 4, 2014

Monday, February 3, 2014

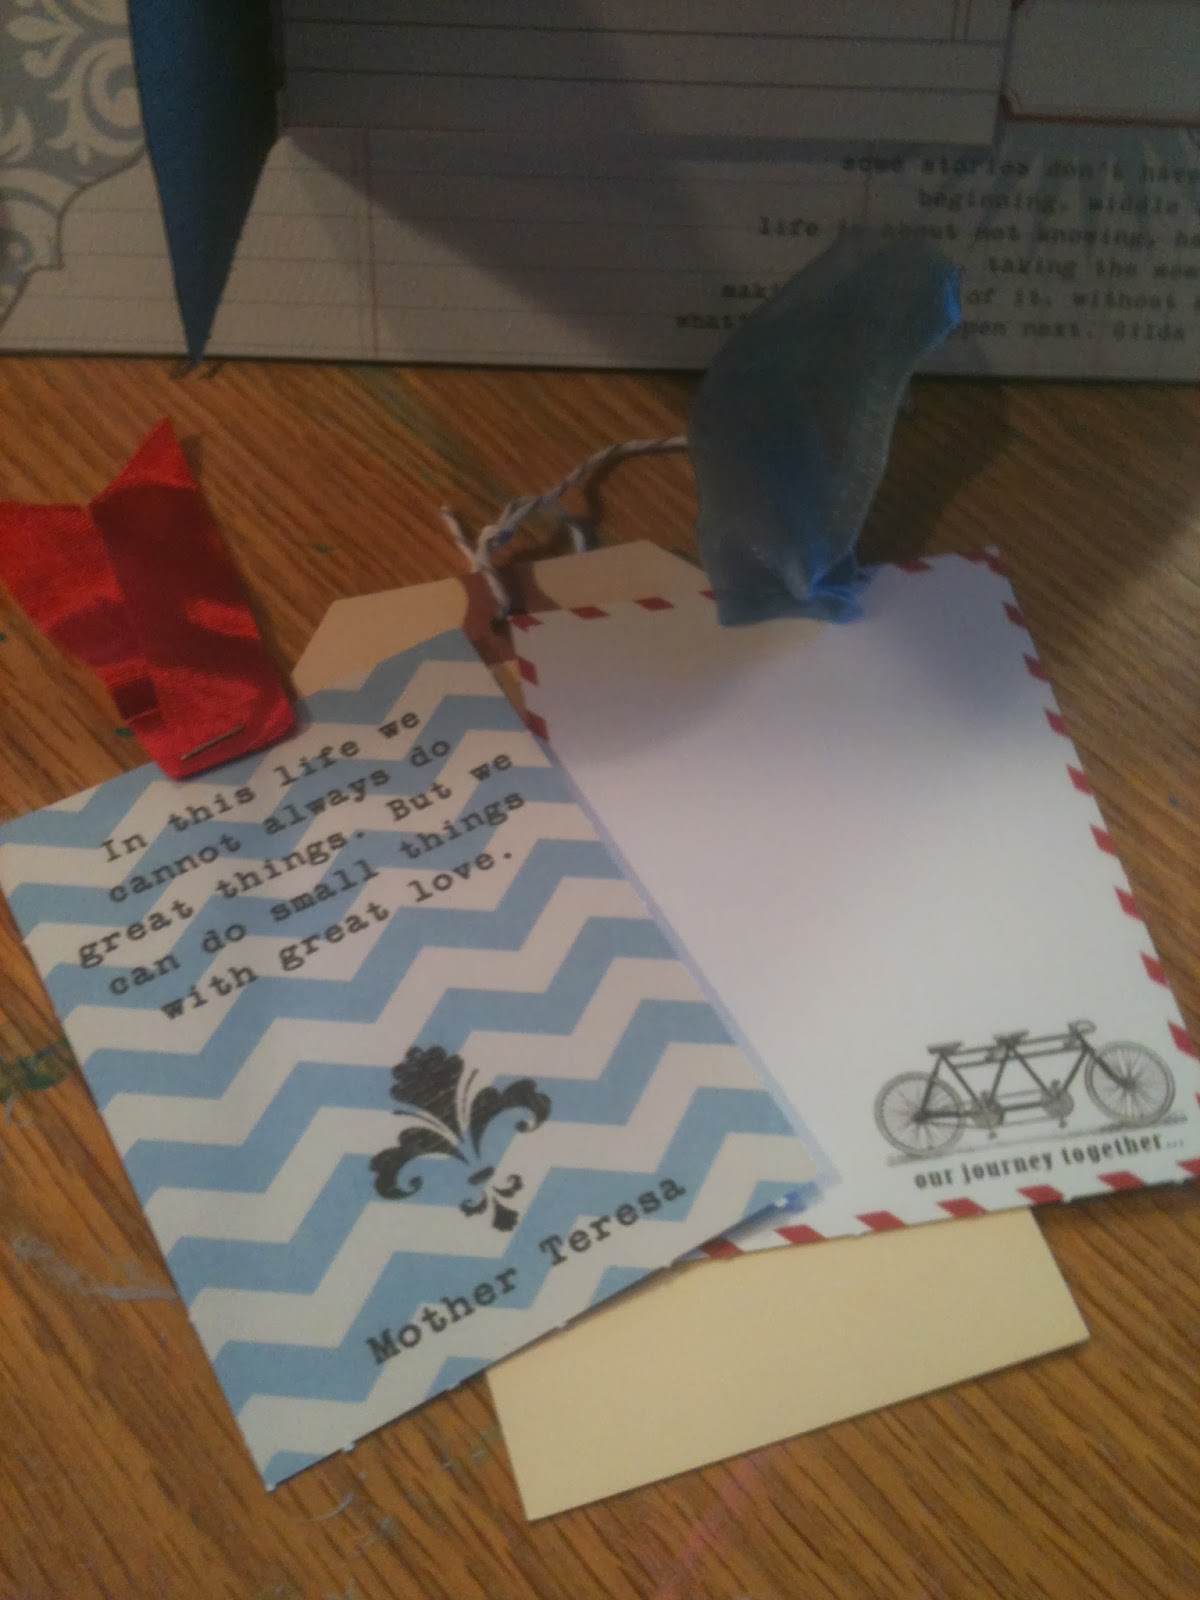
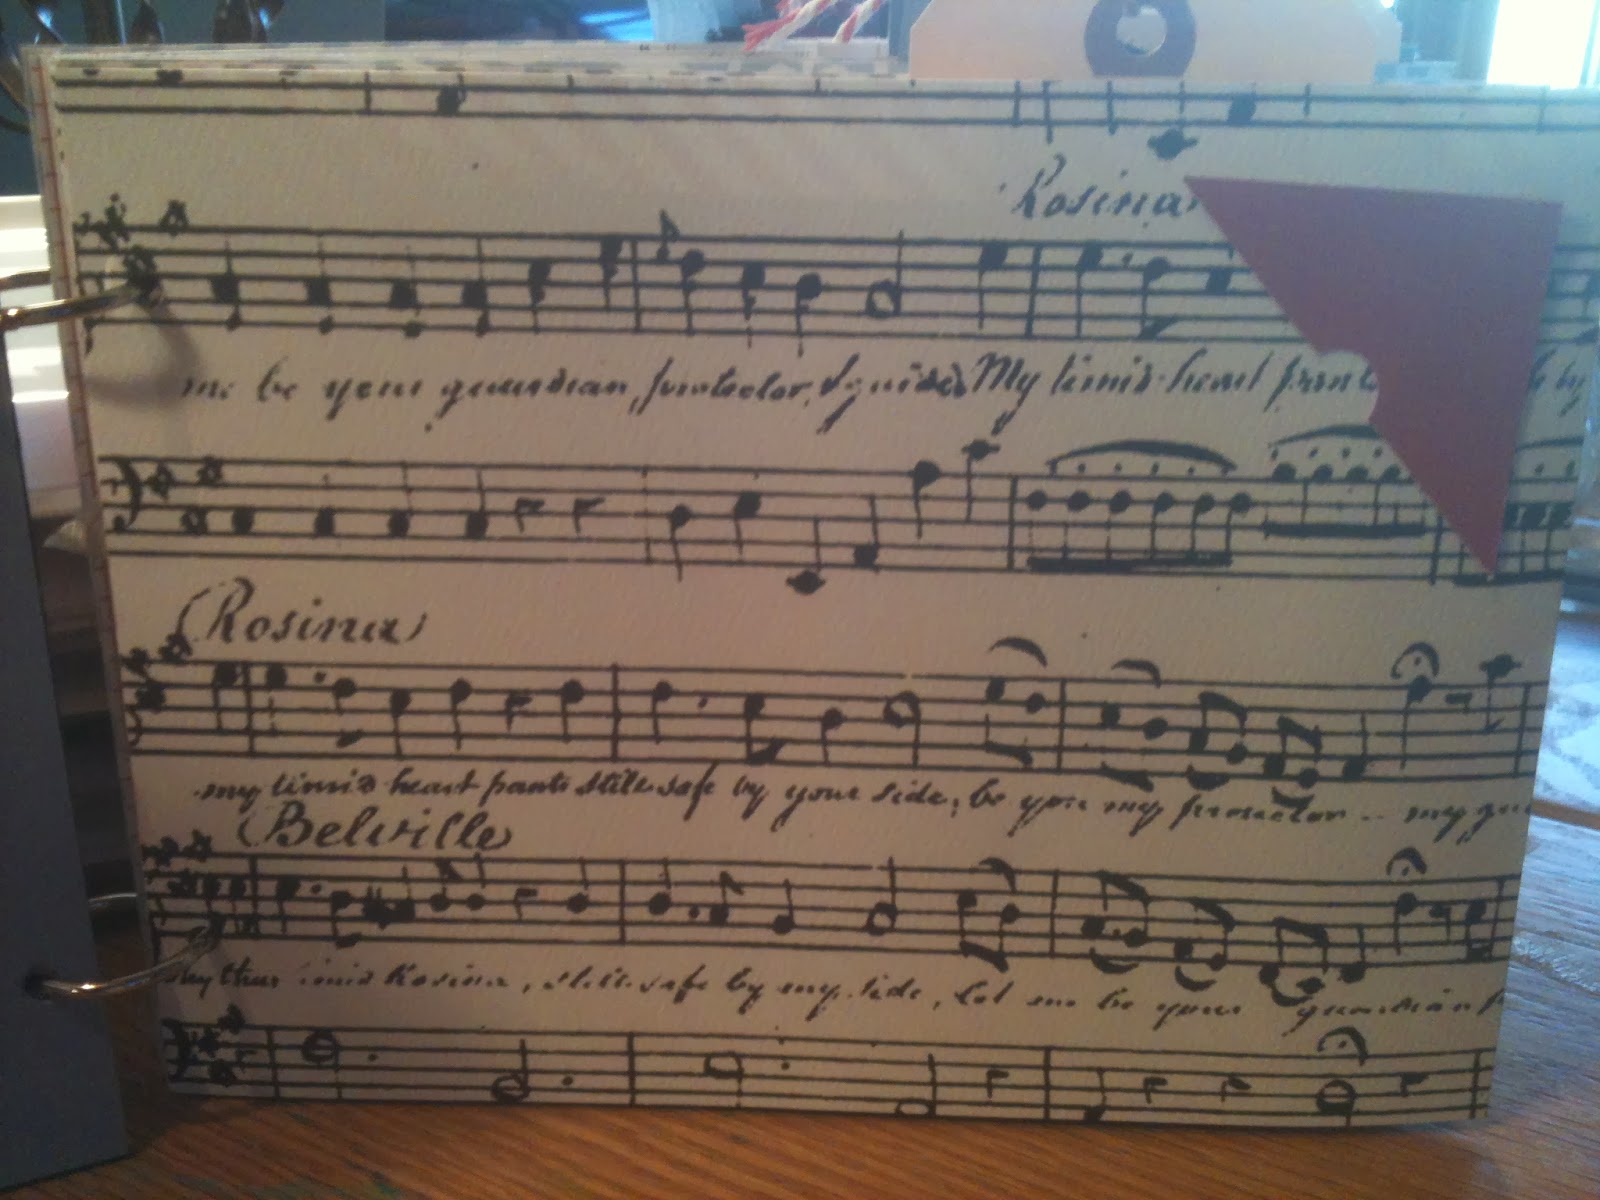
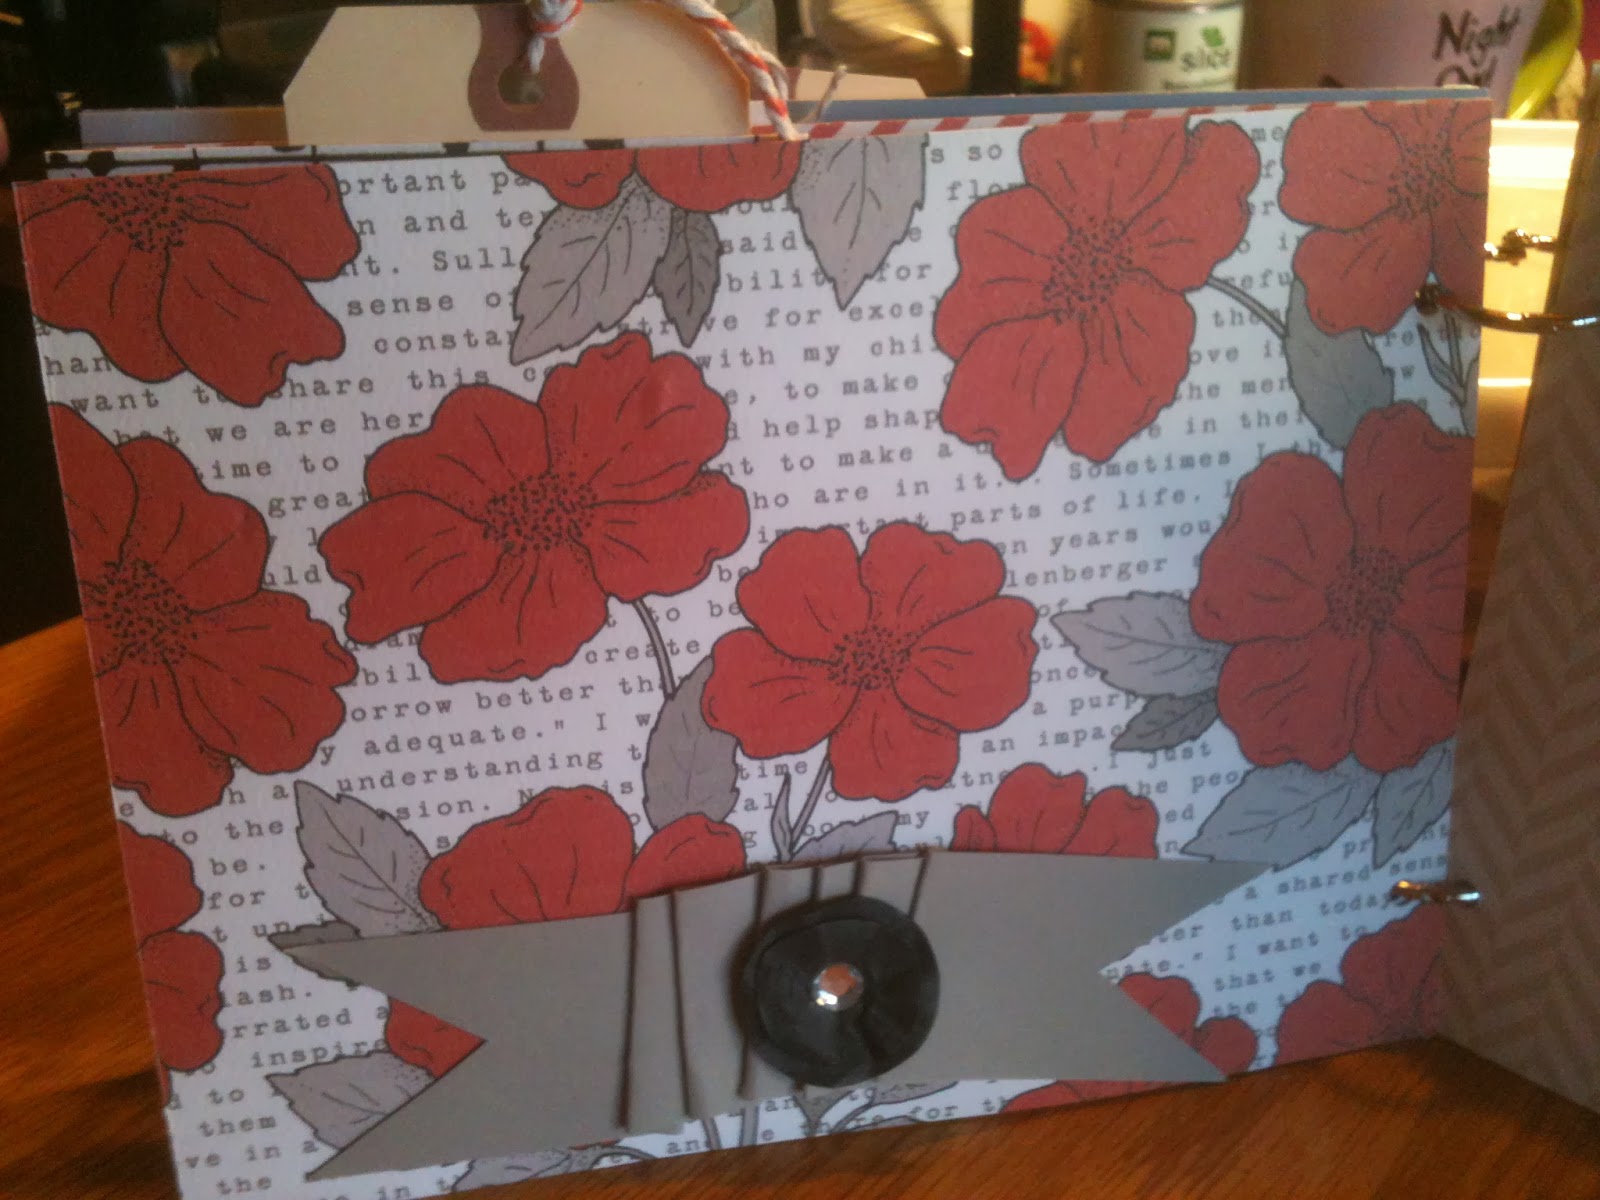
Teresa Collins "Stationery Noted" Mini Book

Good Morning Scrappers....

I wanted to share with you a mini book I designed for
 EMI Scrapbooking Store located in Cumming, Georgia.
As you all know I am a HUGE fan of Teresa Collins.  
Everything she does is "OVER THE TOP" GOOD!
When the paper line "Stationery Noted" came out, I knew 
I wanted to have ALL of it....yes....the paper, the 
embellies, the brads..etc...ALL of it.  I fell in love with
that paper line.  So when Susan (the owner of EMI)
asked me to work with this paper and design a book,
I was thrilled to do it.  The thing is, Teresa makes 
designing so simple. She provides you with just about
EVERYTHING you need to design a mini book, or a 
layout, or even a home project.  She is AMAZING!
I was given a paper pack filled with the paper
"Stationery Noted" and the die-cut accessory sheet,
some cardstock to match, some bling (you gotta have
bling when you work with Teresa's paper, right),
 some ribbon, rings staples, and tags.  I used some 
circle punches, a  Scoreboard, Tim Holtz's 
on the edge die: Brackets #656625, and of course glue to create a 
new mini book with this line.  I didn't need chipboard 
because Teresa's paper is heavy weight paper, so it 
will hold up well with out backing it. Like I said 
earlier, Teresa makes scrapping easy, so I got to work
on this mini book and I made it rather quickly.  
It was one of my favorite books I have ever made.  There
are a few simple embellies that I made that I will share later
on how I made them.  You might be able to figure it
out just by looking at the pictures.
Here is the mini book I designed for EMI.


 I loved making this book.  It has a lot of pockets, tags, and fold outs
which add interest and interaction for people looking at the book
after the pictures are added.  It makes it fun.  
For me, I thought this paper line was perfect to work with.  I loved
the colors and I thought it had so many journaling spots for you to
write about "MY STORY," which is the perfect title for this little 
mini book.